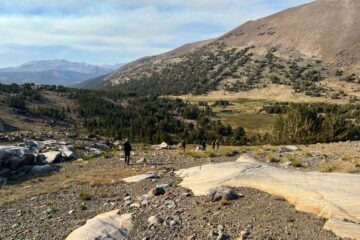
Backpackers in Yosemite’s high country. Photo: Keith Walklet
In that line from Bill Bryson’s Appalachian Trail account, “more than ready” might have been a bit of an exaggeration. Even faced with a host of challenges, however, including bad weather and a companion who tosses provisions over a cliff, Bryson embraces the woods and the trail.
Whether you’re a total beginner or have hundreds of miles under your well-worn boots, Yosemite offers ample backpacking opportunities. Our naturalist guides lead multiday trips, including casual, beginner-friendly adventures to beautiful lakes and passes, and more strenuous treks through the park’s stunning mountain ranges. (Take a look at our Outdoor Adventures calendar to find a trip that fits your style and schedule.)
Before you drift off into daydreams about rugged peaks and mountain meadows, here are a few backpacking basics to get you started, so when you feel that “springy keenness,” you’ll be ready!
PLAN AHEAD
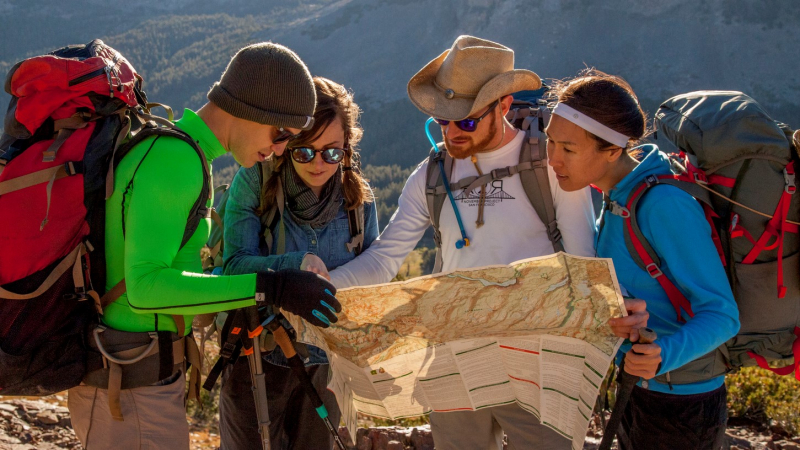
First things first: Decide when, where, and how far you want to go. Research the trail(s) and seasonal conditions. What’s the elevation gain? Will you need to factor in extra time to adjust to the altitude? Are there water sources along your route? Or creeks that might be too deep to cross? Where can you leave your car?
As you work out the details, don’t forget to research, and, if necessary, reserve, a permit. In Yosemite, wilderness permits are required for overnight trips; from November through April, you self-register in the park; from May through October, reservations are required. Check out our Wilderness Permits page for details.
** Heads up, Yosemite hikers: Check conditions before you start! In winter and early spring, you might encounter snow, ice and/or high water; in summer, afternoon thunderstorms often roll through the Sierra. Check the latest weather updates on the Yosemite National Park website (and keep an eye on our webcams), and make sure you have the gear and experience necessary to navigate safely.**
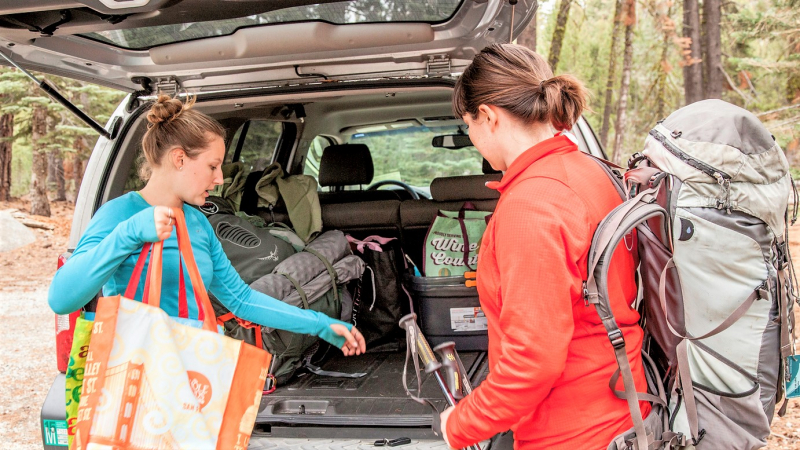
PACK
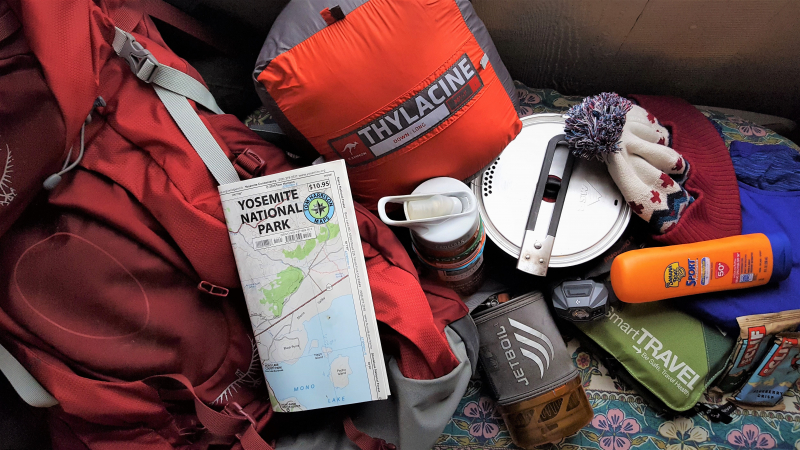
Backpacking means carrying everything you need on your back. That includes:
- Shelter (tent, groundcloth, sleeping bag and pad)
- Clothes (layers for hot hiking days, cold camping nights, and potential rain or snow)
- Food (snacks, meals, and cooking supplies — leave room for a bear-proof canister!)
- Other essentials (including navigation tools, such as a map and compass; water bottles or hydration pack; water filter or purification tablets; headlamp or flashlight and extra batteries; first aid kit; sunblock and bug spray; pencil and paper; and any necessary toiletries)
You might also want to throw in some beyond-the-basics items, such as a book, a deck of cards, a sketchpad and some (non-toxic) paints, a camera, a pair of comfy sandals, and a field guide or lightweight field cards.
Looking for a comprehensive packing checklist? A quick online search will pull up several helpful options, including this handy PDF from REI.
As you start loading things into your bag, use the bottom section for your sleeping bag and other bulky items that you won’t need until you camp; stash heavier things, such as your stove and bear-proof canister, in the core, close to your back; and put gear you might need to access during the day, such as your rain jacket and snacks, toward the top and outsides. When everything is in place, check the weight and fit of your pack. Adjust straps and rearrange items as needed — making your pack as comfortable as possible in advance will pay off once you hit the trail!
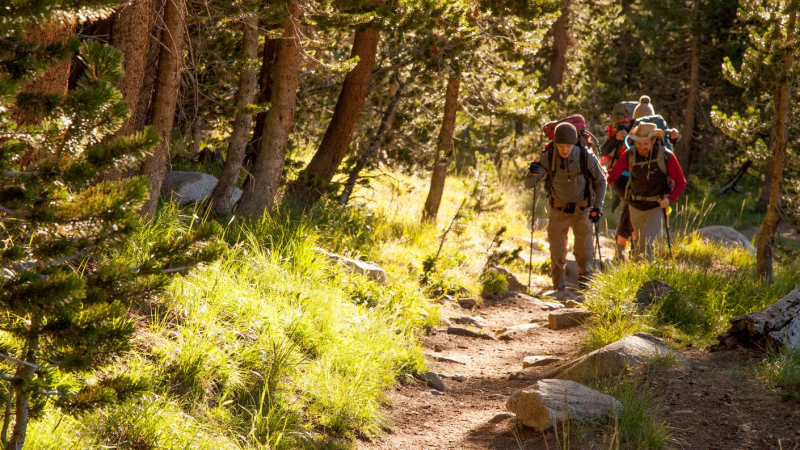
HIT THE TRAIL
But first … leave your itinerary, including your trailhead, enter and exit dates, and planned route, with a family member or friend. Ready to go? Not quite. If you’re in Yosemite, stop by a Wilderness Center to pick up your permit and rent a bear-proof canister. While you’re there, check in with our wilderness team for a refresher on what needs to be stored in the canister (short answer: anything scented).
Now you’re really ready! As you hike, remember to stay hydrated, take time to enjoy the quiet and scenery, and minimize your impact by staying on formal trails whenever possible. When you’re ready to pitch your tent, look for a durable surface, ideally a previously impacted campsite. In Yosemite, backpackers must camp at least 100 feet from water and trails. For more no-trace tips, read this blog.
When you join us for a guided backpacking Outdoor Adventure, you’ll learn about the Leave No Trace Principles and get insights from an expert naturalist, while also having time to relax, enjoy the wilderness surroundings and, on group trips, connect with other park-lovers. Plus, we’ll take care of your permit and bear-proof canister rental.
REFUEL
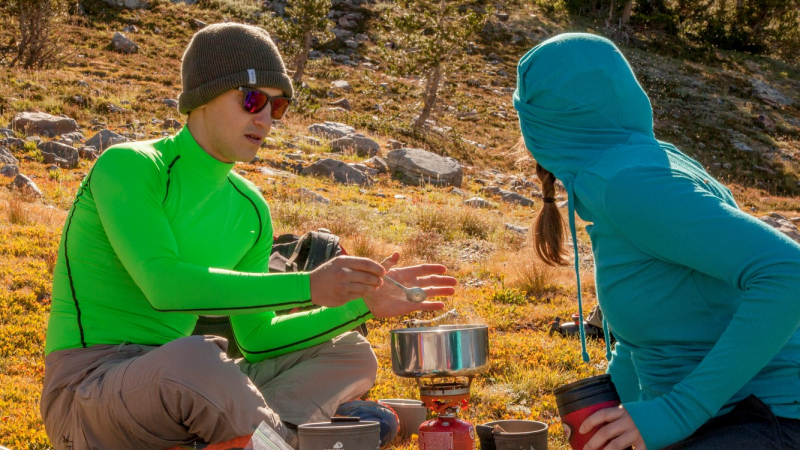
When backpacking, you’ll likely need more calories than usual, but meal and snack supplies can add up to serious pounds in your pack. Bring food that will fill you up without weighing you down. Minimize packaging, and bring reusable dishware. You’ll save space in your pack, and have less trash to carry out.
What to eat? Almost anything tastes amazing when devoured in the wilderness after a long day of hiking. That said, simple seasonings, like salt, garlic powder and cinnamon, can go a long way on the flavor front. For dinner, try couscous with sundried tomatoes, or tuna melts on tortillas. Oatmeal makes a great breakfast on a chilly morning. For a fancier feast, use a water bottle or Ziploc bag to mix and pour pancake batter.
For snacks, consider calorie-dense options such as nuts and dried fruit, or homemade peanut butter balls. To make the latter, lather peanut butter or another spread on a piece of bread, sprinkle with granola, raisins or other toppings, and squish it all up in a ball. Make a stash before your trip, and try not to eat them all in the first mile.
If you’re planning to cook, check the fire rules for your destination. In Yosemite, fires are restricted to existing rings and prohibited above 9,600 feet. At certain times, the park implements restrictions at lower elevations, too. If you’re bringing a stove, don’t forget fuel and a lighter or matches. And if you’re heading somewhere with limited water, bring foods that don’t require boiling or soaking.
HEAD HOME
Ready to wrap up your trip? Pack out everything. Do a sweep of your campsite to make sure you didn’t leave anything behind, including food scraps. Brush off your clothes, boots and pack to get rid of any seeds or bugs that might have latched on for a ride. When you get home, give your gear a more thorough cleaning to ensure that you don’t accidentally bring any invasive species along when you hit the trail again.
Speaking of that, it’s about time to start planning your next adventure. If you’re Yosemite-bound, dig into more planning tips on the park’s website, and take a look at our upcoming and custom trips.